When you set out on a route that stretches past fifteen or twenty kilometers, your feet carry thousands of small impacts against the ground. Most of us start our walks thinking about the gradient, the weather forecast, or the weight of our rucksacks. Yet more often than not, it is a tiny spot of friction no larger than a coin that decides whether an afternoon in the hills remains joyful or turns into a slow, limping retreat toward the trailhead.
Here in our shop, we see walkers come through the door every week with sore heels and peeled tape tucked into their pockets. Blisters are not an inevitable rite of passage on long trails, nor are they a sign of weak skin. They are simply a mechanical response to pressure, warmth, and moisture working together against your skin. With a few reliable habits and some basic kit adjustments, you can stop friction before it turns into a fluid-filled bubble that ruins your day.
Why Blisters Form During Repetitive Walking
A blister is the body's protective reaction to shear stress. When you walk, the outer layer of your skin, called the stratum corneum, moves with your sock while the deeper tissues stay anchored to your bone and muscle. When your foot slides inside your footwear by even two or three millimeters with every step, that constant tugging pulls the epidermal layers apart. Fluid gathers in the resulting pocket to cushion the tissue beneath, creating the bubble we all dread.
Three elements speed up this process: moisture, heat, and grit. Sweat softens the skin through a process known as maceration, making outer layers much weaker than dry skin. At the same time, ambient heat and physical effort cause your feet to swell, which increases the pressure between your foot and the boot lining. If trail dust or sand filters through your sock weave, it works like coarse sandpaper, multiplying the friction with every stride.
On routes covering twenty thousand to thirty thousand steps a day, even the slightest pressure point gets amplified. A heavy pack, perhaps weighing twelve or fourteen kilograms, changes how your arch flattens and widens inside the shoe. This splay pushes the sides of your toes against the toe box and drives your heel harder into the rear counter, turning minor spots of rubbing into painful sores within an hour or two.
Choosing the Right Sock Fabrics
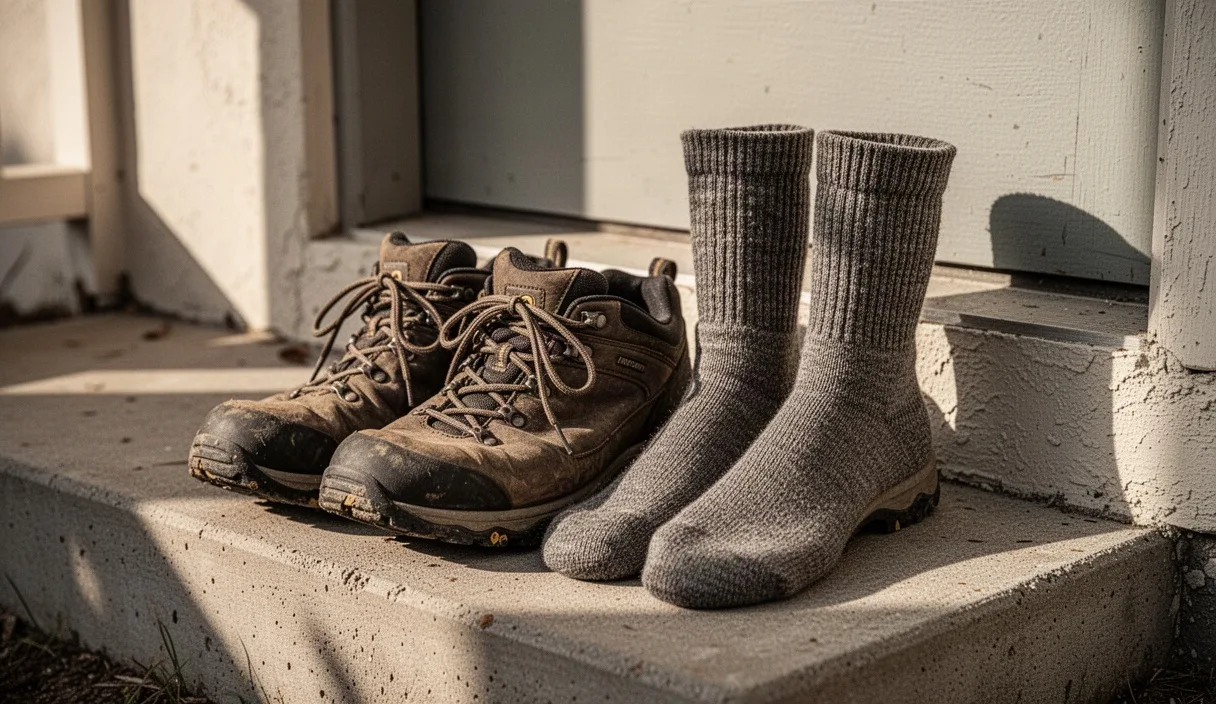
Your socks act as the primary barrier between your skin and your shoe lining. The material you put against your skin either manages sweat effectively or holds it right against your pores like a damp compress. The golden rule we share with every walker is to keep cotton completely away from the trail. Cotton absorbs moisture readily but holds onto it stubbornly, creating a soggy environment that softens skin rapidly.
Natural merino wool and high-grade synthetic yarns offer far better moisture management. Merino fibers pull vapor away from your skin and continue to provide a springy cushion even when damp. Synthetics such as nylon, polyester, and polypropylene dry quickly and resist abrasion around the heel and ball of the foot. Many experienced distance walkers choose a two-layer system: a thin, smooth liner sock made from polyester or silk sitting directly on the skin, covered by a medium-cushion wool sock. The friction happens between the two layers of fabric rather than between the sock and your skin.
| Fabric Type | Moisture Management | Abrasion Resistance | Best Walking Conditions |
|---|---|---|---|
| Merino Wool Blend | High vapor transfer, stays warm when wet | Moderate to high when reinforced with nylon | Cool to temperate days, mixed terrain |
| Polypropylene Liner | Rapid moisture wicking, non-absorbent | High durability with slick exterior | Underlayer for long, multi-day routes |
| Pure Cotton | Porous, traps moisture against the foot | Low when wet, loses structure | Around the house, never on long trails |
| Coolmax / Synthetic Blends | Excellent evaporation, fast drying | Very high against rough boot linings | Warm summer walks, humid conditions |
Fit matters just as much as fabric. A sock that is too large will bunch up behind your Achilles tendon or under your metatarsal arch, creating an immediate ridge of pressure. A sock that is too small pulls tight over your toes, compressing them together and causing interdigital blisters where toe rubs against toe. Choose socks that sit flush against your heel cup without stretching the fabric paper-thin over your toes.
Heel Lock Lacing Techniques
Even the finest pair of walking boots will cause problems if your heel lifts while climbing steep slopes. Heel slippage is the number one cause of rear-foot blisters. Most walking shoes and boots come with an extra pair of eyelets near the top of the ankle cuff that many people leave unused. These upper eyelets are designed specifically for a technique known as the heel lock, or runner's loop.
By securing the heel down into the pocket of the boot, you stop your foot from sliding forward on descents and lifting on ascents. Here is how we recommend lacing your boots before a long trek:
- Create the loops: Thread your lace straight through the top eyelet on the same side without crossing over, pulling the lace from the outside in to create a small loop on both sides of the collar.
- Cross the lace ends: Take the right lace end across the tongue and push it downward through the loop you created on the left side. Do the same with the left lace end, passing it through the loop on the right.
- Pull downward to set: Pull the laces downward and slightly forward, not upward toward your knees. This action draws the loops tight against the collar and cinches the boot firmly around your ankle joint.
- Finish with a standard bow: Tie your standard knot, such as a secure reef knot or double bow, while keeping steady tension on the collar.
This simple adjustment locks your calcaneus bone into the back of the boot without requiring you to overtighten the laces across the top of your foot. Keeping the instep slightly relaxed maintains natural blood circulation and prevents numbness, while keeping the rear of your foot completely stable.
Treating Hot Spots Before They Turn into Blisters
A blister rarely appears without giving you a clear warning first. A "hot spot" is that subtle sensation of warmth, slight stinging, or localized pressure you feel while walking. It tells you that the stratum corneum is beginning to separate from the deeper dermis. The biggest mistake walkers make is telling themselves they will deal with it at the next rest bench two kilometers away. By the time you reach that bench, the skin has usually split and filled with fluid.
The moment you feel a localized rub, take off your pack, unlace your boot, and remove your sock. Check the skin under bright daylight. If the area looks faint pink or feels noticeably warmer to the touch than the surrounding skin, it requires immediate protection before you take another step.
Carrying a small blister management kit in an accessible pocket of your rucksack takes little space. Your kit should include medical grade zinc oxide tape or rigid strapping tape such as Leukotape, a small pair of rounded safety scissors, alcohol prep wipes, and hydrocolloid patches. When covering a hot spot, follow these basic steps:
- Clean and dry the skin: Wipe away any trail dust, sweat, or loose fibers with an alcohol wipe or clean cloth, letting the skin air dry completely so the adhesive can grip.
- Round the tape corners: Cut a patch of rigid tape large enough to cover the hot spot with at least one centimeter of margin around the edges. Round every corner with your scissors so the edges do not catch on your sock.
- Smooth the application: Press the tape down from the center outward, ensuring there are no ripples or folds. A crease in your tape creates a new, sharper ridge that will cause a blister of its own.
- Add friction reducers if needed: If the area is already tender, place a small paper-tape backing or a tiny dab of balm directly over the tender center before applying the top cover, ensuring the adhesive does not rip the sensitive skin when removed later.
Foot Powder and Skin Lubricants
Walkers generally fall into one of two camps when preparing their skin: the dry method or the slick method. Both can be effective, but mixing them haphazardly on the same patch of skin usually leads to a messy paste that fails quickly. Understanding how your own feet react to heat will help you choose the right approach for your route.
The dry method relies on astringents and moisture absorbers. If you have naturally sweaty feet, applying a non-talc foot powder containing cornstarch, baking soda, or zinc oxide before your walk absorbs dampness and maintains friction resistance. For multi-day journeys, some walkers apply a light swipe of surgical spirit to the soles for two weeks leading up to the trip. This dries the skin surface slightly, though anyone with cracked heels or sensitive skin should avoid this, as excessive drying can cause painful fissures.
The slick method takes the opposite approach by using an anti-friction balm or silicone-based lubricant to let surfaces slide without generating shear stress. Applying a small amount of trail lubricant to the sides of your little toes, between the arches, and behind the heel reduces the friction coefficient significantly. The primary drawback is that balms collect dirt if you wear low shoes or breathable mesh runners on dusty tracks. Reapplication is usually necessary every twelve to fifteen kilometers, as perspiration gradually washes the balm away.
When to Pick Powder or Balm
If you are walking in dry, sandy environments, foot powder keeps your feet feeling clean and stops grit from turning into a grinding paste inside your socks. If you are traversing wet grass, boggy ground, or humid valleys where keeping feet dry is impossible, a wax-based anti-friction balm creates a waterproof barrier that protects your skin cells from absorbing excessive moisture.
Post-Hike Foot Care and Airing Out Boots
What you do after you set down your walking poles sets the stage for tomorrow's walk. The minute you arrive at your campsite, hostel, or home, get your boots and socks off immediately. Trapping warm, sweaty feet inside damp footwear for an hour after finishing a trek softens the skin further and encourages fungal growth.
Take the footbeds out of your walking boots and pull the tongues forward. Footbeds absorb a large amount of sweat under your arches and heels, and leaving them inside doubles the drying time of your boots. Place both shoes and insoles in a dry, ventilated area away from direct heat. Never place leather or synthetic boots right against an open fire or a hot radiator, as intense heat shrinks leather, cracks waterproof membranes, and ruins adhesive seams.
Wash your feet with cool water and a gentle, unscented soap to remove dried salt and grit. Cold water also constricts blood vessels slightly, soothing minor swelling and cooling down tired tissues. Dry thoroughly between every toe. If your skin feels parched or leathery after a day in dry conditions, apply a light, water-based moisturizing cream to keep the skin supple overnight, but avoid slathering heavy ointments right before you put on your trail socks the next morning.
If an intact blister formed during your walk, keep the protective skin ceiling intact whenever possible. The roof of the blister is a sterile biological dressing created by your body. Clean the area with an antiseptic wipe and protect it with a hydrocolloid dressing or a donut-shaped pad cut from moleskin. If a blister is so large and tense that you cannot walk without it popping, speak with a medical professional or podiatrist about safe, sterile draining procedures. If you notice red streaks, increasing heat, cloudy fluid, or a throbbing ache that worsens overnight, seek medical attention promptly, as these can be signs of a skin infection.
Common Mistakes Walkers Make
Even walkers with plenty of miles behind them fall into simple traps that create unnecessary foot pain. Keeping an eye out for these everyday oversights will save your skin on long trails:
- Untrimmed toenails: Nails left even a couple of millimeters too long will hit the front of your boot on declines, causing bruising under the nail and putting sideways pressure on neighboring toes. Cut them straight across and smooth the sharp corners with an emery board.
- Ignoring small debris: Walking with a stray pine needle or tiny pebble in your boot for half an hour causes deep tissue bruising and localized abrasions. Stop and shake out your footwear the second you feel something loose.
- Wearing untested gear on big days: Testing a fresh pair of boots or socks on a thirty-kilometer route invites trouble. Always wear new equipment on short, low-stakes afternoon walks first.
- Leaving tape on wet skin: Applying strapping tape over sweaty, damp skin means the tape edges will roll up within ten minutes, creating a hard knot of adhesive that rubs worse than the hot spot itself.
Practical Next Steps for Your Route
Preparing your feet for long distances is a steady habit rather than a single trick. Before your next outing, take twenty minutes to look over your gear. Pull out your boots to check the condition of the heel lining, make sure your sock seams are intact without thinning spots, and restock your rucksack's medical pouch with fresh tape and clean scissors.
On your next training walk, pay close attention to how your feet feel at the ten-kilometer mark. Notice where your feet warm up first and practice the heel lock lacing technique to see how your heel responds on hills. Building the habit of stopping early to check your skin will make your long walking routes far more comfortable, allowing you to focus on the trail ahead rather than the pain beneath your soles.