A ten-kilometer route sits in a wonderful sweet spot for day hikers. It is long enough to carry you deep into pine forests, up along ridge lines, or around quiet lakes, yet short enough that you can finish before evening sets in. When we talk with folks stopping by our counter before their Saturday outings, this is the distance they mention most often. It feels approachable, but it is still far enough that poor planning can leave you cold, thirsty, or caught on the trail after dusk.
Treating a ten-kilometer trek with the same care as an overnight expedition helps ensure you return to your car with tired legs and a clear head. Ten kilometers translates to just over six miles, which usually means three to four hours of steady walking. That is plenty of time for mountain weather to shift or for a small blister to become a major issue. With a simple routine and some basic trail preparation, you can keep your day relaxed, predictable, and safe.
Choosing a Trail with Manageable Elevation
Distance alone tells only part of the story. A flat ten-kilometer stroll along a graded rail trail requires very different energy than a route with steep switchbacks over exposed granite. When you browse guidebooks or park maps, always look at the total elevation gain alongside the horizontal distance. Gaining 200 meters across ten kilometers feels like a gentle rolling walk, whereas gaining 700 meters over the same distance turns the day into a taxing mountain climb.
For most casual walkers and beginners, keeping total elevation gain under 350 meters makes for a comfortable outing. If you have knee concerns or are hiking with younger family members, pay close attention to the descent profile as well. Steeper descents put sustained force on your joints and quadriceps, which is often where fatigue causes slips. If you have flexibility & mobility or medical questions about hill walking, checking in with a physical therapist before tackling steep terrain is a sensible move.
Trail surface also shapes the physical effort required. A packed dirt track allows for an easy, rhythmic stride, while loose scree, wet roots, or boulder fields force you to balance on every footfall. When you pick a route, check recent trip reports to learn what lies underfoot. If a path is marked as rugged or unmaintained, plan for your pace to slow down considerably, even if the trail map shows very little vertical climbing.
| Trail Profile | Elevation Gain | Average Pace | Best Suited For |
|---|---|---|---|
| Flat Valley Floor | Under 150 meters | 4.0 km per hour | Beginners, recovery walks, families |
| Rolling Forest Paths | 150 to 350 meters | 3.2 km per hour | General weekend hiking, steady fitness |
| Mountain Ridge Route | 400 to 750 meters | 2.2 km per hour | Experienced hikers, strong cardio baseline |
Estimating Your True Moving Time
A common error we see is calculating trail time based on sidewalk walking speed. Most healthy adults walk at roughly five kilometers per hour down a paved street. Out in the woods, with a small pack on your back and uneven ground beneath your boots, that speed drops quickly. For a standard forest track, planning on an average moving speed of three to 3.5 kilometers per hour provides a much more realistic baseline.
You can use a modified version of Naismith's Rule to calculate your moving time. Allow one hour for every three kilometers of flat walking, and add thirty minutes for every 300 meters of vertical ascent. On a ten-kilometer loop with 300 meters of elevation gain, your moving time works out to roughly three hours and forty minutes. This simple formula keeps you from underestimating how long you will be out in the elements.
Always add buffer time on top of your moving calculation. We recommend adding forty-five to sixty minutes to your overall plan for a ten-kilometer trip. This gives you room to sit on a boulder for lunch, adjust your boot laces, take photos, and catch your breath on steeper grades without feeling rushed. If you set out at ten in the morning, plan on finishing around three in the afternoon rather than expecting to be back by one.
Hydration and Snack Math for Half-Day Trips
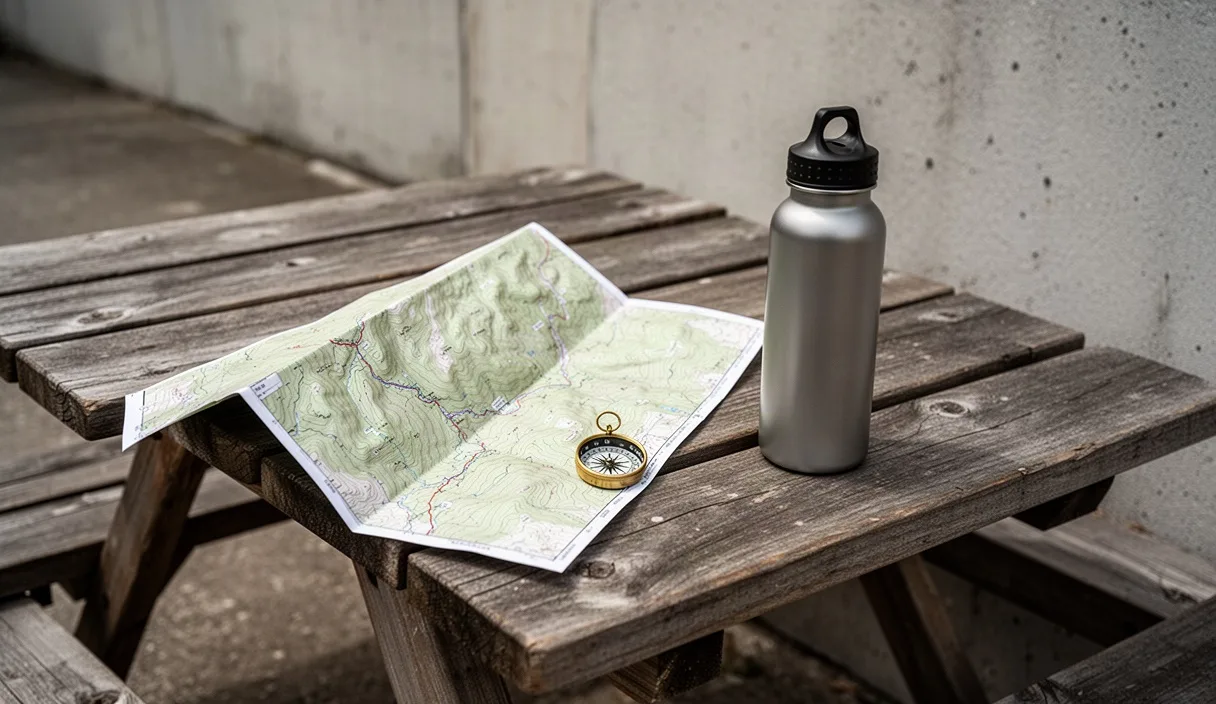
Carrying the right amount of water keeps muscle cramps at bay and helps you stay alert when scanning the ground for roots and rocks. A good baseline rule is half a liter of water for every hour of moderate hiking in cool to mild weather. If the forecast calls for warm sunshine or significant humidity, increase that to three-quarters of a liter per hour. For a four-hour outing, this means packing between two and three liters of water per person.
Carrying extra fluid adds pack weight, but running dry two kilometers from the trailhead is an unpleasant experience. We like using two smaller bottles rather than a single large bladder. Bottles are easy to monitor so you know exactly how much you have consumed, and if one leaks inside your bag, you still have the second container intact. If your route passes reliable streams, you can carry less weight by packing a lightweight hollow-fiber squeeze filter, provided you know water is running season-round.
For nutrition, aim to eat roughly 180 to 240 calories for each hour you spend on the trail. Rather than saving everything for one large lunch stop, graze on smaller snacks every forty-five minutes to maintain an even blood sugar level. Focus on foods that handle warmth and rough handling in a pack without turning to mush:
- Salted almonds, walnuts, or pumpkin seeds for sustained energy and salt replacement.
- Dried fruit such as figs, apricots, or banana chips for quick fuel on uphill pushes.
- Dense oat bars or whole-grain flapjacks that do not crumble into dust.
- Hard cheeses and dry salami, which keep well for several hours without refrigeration.
Essential Items for Your Daypack
A ten-kilometer walk does not demand a heavy forty-liter pack, but your bag should hold gear for changing conditions. A pack between fifteen and twenty-two liters capacity usually offers enough room for extra layers, water, food, and emergency supplies without feeling bulky on your shoulders. Look for wide shoulder straps and a simple webbing waist strap to keep the pack from swaying as you walk.
We recommend building your kit around the concept of self-reliance. Even on popular local trails, you cannot assume someone else will carry the bandage or whistle you might need. Pack your supplies inside lightweight dry bags or simple freezer-grade zip bags to keep everything dry if a sudden squall passes over your ridge.
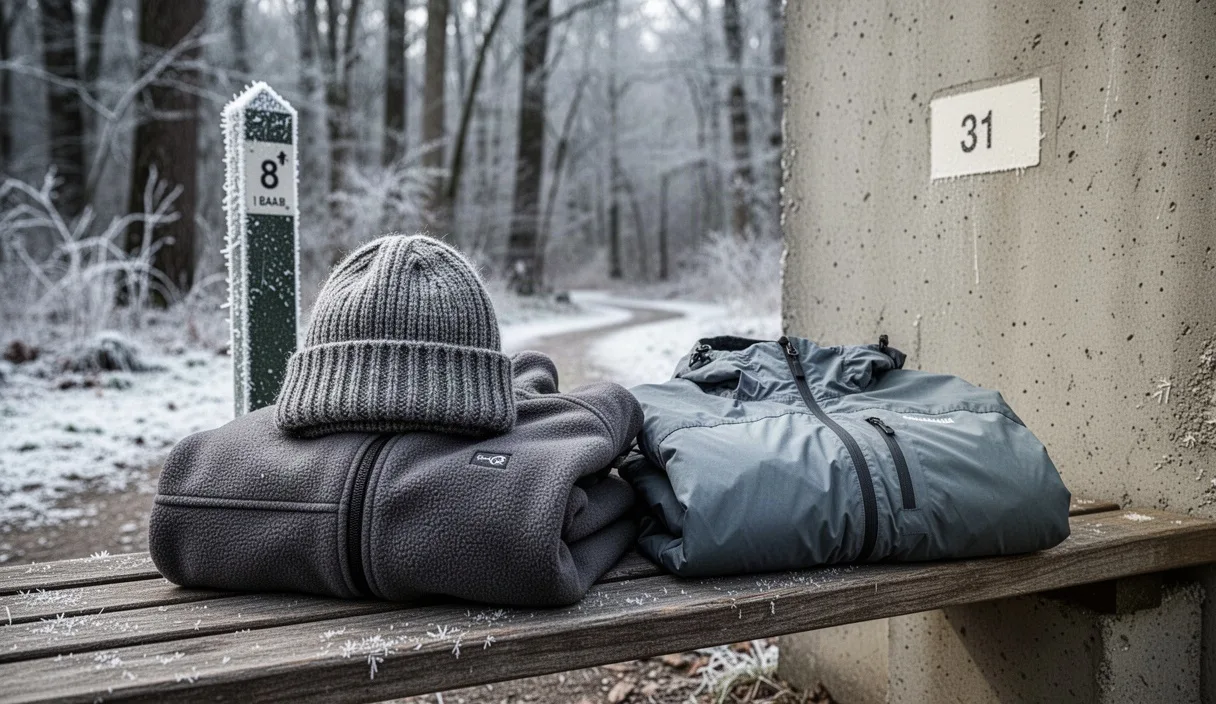
- Weather layer: Pack a breathable, seam-taped waterproof jacket, even if the morning sky looks cloudless. Wind chill builds fast when sweat cools on an exposed summit.
- Insulating mid-layer: A lightweight fleece or packable synthetic vest provides warmth during rest stops.
- First-aid pouch: Include blister bandages, sterile gauze pads, adhesive tape, antiseptic wipes, tweezers for ticks, and your personal daily medications.
- Illumination: A compact headlamp with fresh batteries. If you take longer than expected, hiking in the dark with a smartphone light is frustrating and drains your communication battery.
- Multi-tool or knife: A small folding pocket knife handles gear fixes, food prep, and cutting tape for hot spots on your feet.
- Sun protection: Broad-spectrum sunscreen, polarized sunglasses, and a brimmed cap to ward off sun fatigue.
Navigating Without Cell Coverage
Cellular coverage can vanish within five minutes of leaving the trailhead parking lot. Relying on live-streaming digital maps can leave you stranded when you reach an unmarked trail fork. If you prefer using your phone for navigation, download your regional map files directly to local storage before leaving home. Switch your phone to airplane mode while walking; this preserves battery life by stopping the antenna from constantly searching for weak cell towers.
Digital tools are helpful, but paper remains the gold standard for trail backup. Carry a printed topographic map of the park or wilderness area at a scale of 1:24,000 or 1:50,000, along with a simple baseplate compass. Store your paper map inside a clear waterproof sleeve so you can read it in the rain without turning the paper to pulp.
Before you take your first stride from the car, orient yourself. Look at the map to see which direction your trail heads, note major terrain landmarks such as rivers or prominent ridges, and identify what safety handrails exist. A handrail in navigation terms is a long, unmistakable feature, like a paved highway to the south or a river to the east, that you can walk toward if you ever lose the marked trail.
- Download your offline digital trail map and verify the track opens while your phone is offline.
- Fold your physical paper map to show the day's route, placing it in an easily accessible pack pocket.
- Check your compass bearing at the trailhead to confirm the general direction of travel.
- Note key junction names and trail marker colors on a small index card tucked behind your map.
Checking Trail Closures and Local Weather
Trail conditions change from week to week. Winter run-off can wash out wooden footbridges, seasonal forestry work can close sections of path, and spring nesting seasons often lead parks to restrict access to specific cliff areas. The night before your hike, visit the website or social feed of the managing agency, whether that is a national park service, state forest office, or local conservation trust. A three-minute check can save you an hour of wasted driving.
When reviewing weather forecasts, check the specific altitude of your trail rather than the nearest town. High ridges and mountain plateaus often register temperatures six to eight degrees Celsius colder than valley towns, with wind speeds that can easily double. Look closely at precipitation timing. If thunderstorms are predicted for early afternoon, plan an early departure so you are off high ground before clouds build.
Take note of recent rainfall trends as well. A trail that handled dry weather easily can turn into a slippery canal of mud after forty-eight hours of rain. If local rangers report heavy mud or damaged boardwalks, consider wearing supportive boots with deep rubber lugs rather than light trail running shoes, or pack a pair of trekking poles to help you balance along slick stretches.
Common Mistakes on 10-Kilometer Hikes
Because ten kilometers feels like a moderate distance, walkers often drop their guard. Small misjudgments early in the day can compound by the time you reach the seven-kilometer mark, leading to unnecessary discomfort.
- Wearing brand-new boots: Stiff footwear right out of the box creates intense friction points. Break in new boots on short neighborhood walks before taking them out for a ten-kilometer forest trip.
- Ignoring early foot hotspots: A warm, tender spot on your heel or toe will become a full blister within thirty minutes. Stop the moment you feel rubbing and apply tape or a blister patch right away.
- Leaving late in the afternoon: Setting off past midday leaves little margin for error. If you twist an ankle or take a wrong turn at an intersection, daylight vanishes quickly.
- Skipping the gear check: Assuming your headlamp works without testing it can leave you in trouble. Switch it on the night before to confirm the batteries are strong.
- Forgetting to share plans: Failing to leave a note behind is dangerous. Always tell someone who is staying home where you are parking, which trails you are taking, and when you plan to text them upon return.
Preparing for the Trail Head
A safe day on the trail starts with calm preparation in your living room the evening before. Lay out your pack, inspect your laces, pack your water, and prepare your snacks so you do not have to rush in the morning. When your gear is organized ahead of time, arriving at the trailhead feels relaxed, giving you space to enjoy the crisp morning air and the sound of the woods.
Before you lock your car doors and step onto the dirt, take thirty seconds to review your surroundings. Look at the sky, verify that your pack feels balanced, check that your phone is fully charged and set to power-saving mode, and confirm your paper map is right where you can reach it. Taking these small, deliberate steps turns a simple ten-kilometer walk into a rewarding habit you can return to season after season.