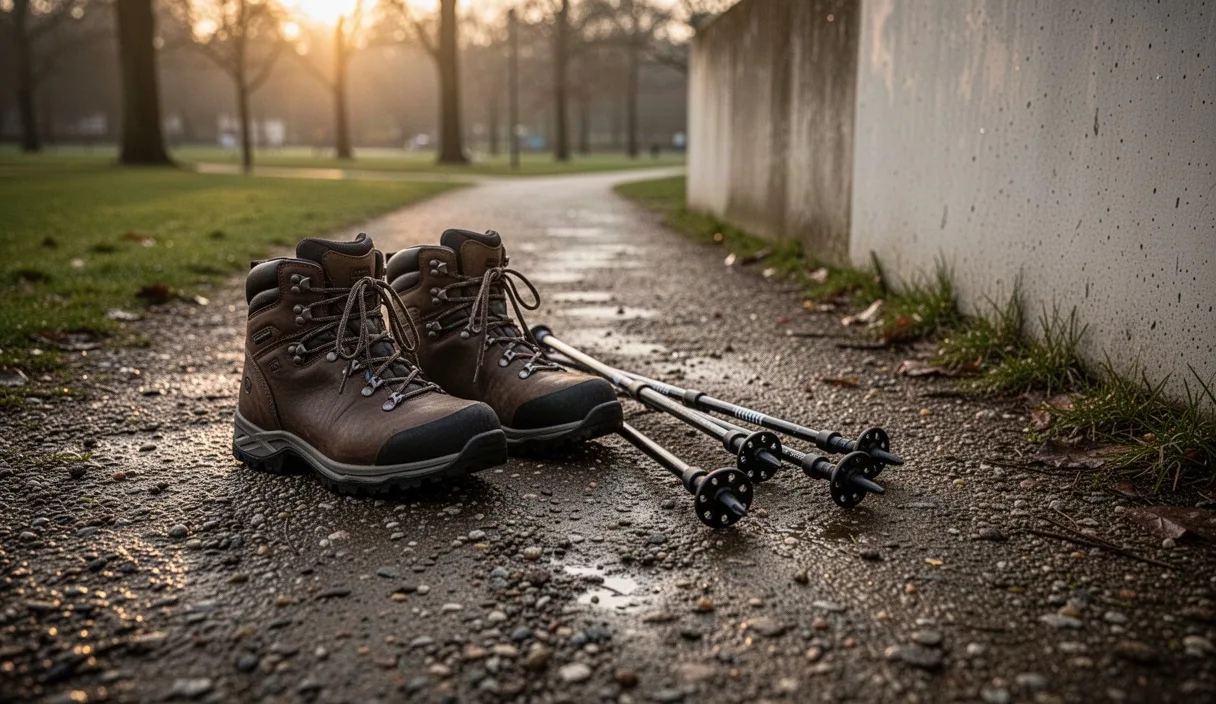
When you first pick up a set of Nordic walking poles, your instinct might be to treat them like trekking poles or canes. We see this all the time in our shop. People hold them upright, plant them out in front of their toes, and march along with stiff elbows. Nordic walking is quite different. It grew out of dry-land training for cross-country skiers in Finland during the nineteen-thirties, and it relies on an open, rhythmic movement that works with your body instead of fighting it.
Our goal here is to help you build good habits right from your very first outing on the trail or pavement. You do not need athletic training to pick this up, but you do need a little patience while your arms and legs learn to sync. We will walk through the core mechanics step by step, using practical cues that you can test in your living room or out on your local path this afternoon.
Understanding the Natural Cross-Country Swing
The foundation of Nordic walking is the ordinary human gait. When you walk down the street without anything in your hands, your arms swing naturally in opposition to your legs. Your left arm swings forward as your right heel strikes the ground, and your right arm swings forward as your left heel lands. Many beginners get so focused on holding the equipment that their limbs freeze up, or worse, they start moving the same-side arm and leg together like a toy soldier.
To find the proper swing, we want your arms swinging from the shoulder joint rather than the elbow. Think of a grandfather clock pendulum. The arm stays relatively long and relaxed, with just a slight, soft bend in the elbow of about twenty to thirty degrees. When the hand comes forward, it rises roughly to the height of your belly button, never crossing the central line of your chest.
As that hand moves backward, it presses behind your hip, extending your reach to push your body forward. This backward push engages the triceps, the lats, and the muscles between your shoulder blades. If you feel tension gathering in your neck, your shoulders are creeping up toward your ears. Drop them down, shake out your fingers, and let gravity do part of the swing work for you.
Dragging the Poles to Reset Your Pace
Whenever your rhythm feels broken, there is a simple drill that resets your body immediately. We call it dragging the poles. It strips away the urge to overthink the plant and helps you rediscover your ordinary walking cadence.
Fasten the wrist straps securely around your hands, but do not close your fingers around the rubber or cork handles. Let the grips hang loosely between your thumb and forefinger, supported entirely by the straps. Begin walking forward at a normal, conversational speed, letting your arms swing freely at your sides while the pole tips drag along the dirt or pavement behind you.
- Loosen your hands: Keep your palms open and fingers soft. Trust the wrist straps to hold the gear.
- Find your cadence: Walk for thirty to forty paces until you stop thinking about your feet. Listen to the steady scrape of the tips behind you.
- Observe the angle: Notice how the poles naturally point backward at a slant. They never point forward when you drag them.
- Reclaim the grip gently: Once the alternating rhythm feels smooth, gently wrap your fingers around the grips as your arms swing forward, without changing the angle.
This dragging drill is not just for your first afternoon. We still use it after a steep uphill climb or when a brief conversation breaks our momentum. Spending two minutes dragging your poles resets muscle memory faster than trying to force a correction mid-stride.
Planting the Tip at the Correct Angle
The single biggest technical difference between trekking and Nordic walking is the angle of the pole. In mountain trekking, you plant the tip in front of your body to brake your descent and take load off your knees. In Nordic walking, you plant the pole pointing backward behind you to propel your body forward along the ground.
Your pole tip should make contact with the ground roughly level with your back heel or halfway between your front and rear foot. The shaft will form an angle of roughly forty-five to fifty degrees relative to the ground. If you plant the tip vertically, or ahead of your front knee, you create a braking force that shocks your shoulder and slows your stride.
| Element | Nordic Walking Angle | Trekking Pole Angle |
|---|---|---|
| Tip placement | Behind or beside the front foot heel | Ahead of the front toes |
| Shaft angle | Slanted backward at forty-five degrees | Nearly vertical or forward-leaning |
| Primary purpose | Propulsion and active upper-body drive | Stability, balance, and downhill braking |
| Surface contact | Slanted rubber paw or angled carbide tip | Round rubber boot or vertical basket tip |
If you walk on tarmac, you will use angled rubber paws. Make sure the toe of the paw points backward, matching the slant of the pole. If you walk on forest trails or grass, remove the rubber paw and let the carbide tip bite directly into the soil.
The Grip and Release Action Explained
Nordic walking relies on a distinct squeeze-and-release pattern. Holding the grip with a tight fist for an entire hour will tire your forearms, restrict blood flow, and prevent you from finishing your arm swing behind your hip. The wrist strap system exists precisely so you can let go of the handle without dropping the pole.
The action splits into two parts during each arm swing:
- Forward swing and plant: As your hand swings forward to navel height, close your fingers lightly around the handle. Plant the tip firmly into the ground with enough downward pressure through the strap to initiate your push.
- Backward thrust and release: As your body passes the pole and your hand reaches your hip, open your fingers wide. Continue pressing down and back against the wrist strap until your arm extends behind you. The handle will tilt backward in the web between your thumb and index finger.
- Recovery return: As your arm begins to swing forward again, the tension on the strap pulls the grip right back into your palm. Close your fingers again just before the tip touches the ground.
This pumping action of the hand functions as an active muscle pump for your circulatory system. It promotes healthy blood flow in the arms and prevents the swollen, stiff fingers that many hikers experience on long walks. If you have wrist issues or joint mobility, speak to your physical therapist first, but many walkers find this open-and-close motion much kinder on joints than a continuous death grip.
Coordinating Breath with Foot Strike
Once your limbs are swinging in rhythm, your breath needs to settle into a predictable pattern. Walking with poles demands slightly more oxygen than normal walking because you are engaging the upper back, chest, and arms. If you breathe shallowly through your chest, you may feel fatigued within fifteen minutes.
We recommend linking your inhalations and exhalations directly to your footsteps. A good baseline for flat terrain is a three-to-three pattern. Take a slow, continuous breath in through your nose over three foot strikes, then release it steadily through pursed lips over the next three strikes. If you are moving at a brisk tempo, a two-to-two pattern might feel more natural.
Pay attention to your posture as you breathe. When your lungs fill, avoid lifting your collarbones or hunching your shoulders. Expand your ribcage outward and downward toward your belly. A tall spine gives your lungs room to work and keeps your pelvis in a neutral position, which helps your hips rotate naturally with every push of the pole.
Three Habits to Avoid During Your First Month
Over the years, we have seen beginners develop a few persistent quirks that make the exercise harder than it needs to be. Keeping an eye on these during your first month will save you from having to unlearn bad habits later.
The first habit is bent-elbow sawing. This happens when a walker bends their elbows to ninety degrees and pumps their arms like a sprinter. While sprinters need short, rapid arm drives, Nordic walkers need a long lever. Bending the elbow too sharply shortens your push, places heavy strain on the bicep tendon, and keeps you from engaging the broad muscles of your back. Keep that arm long and swing from the shoulder.
The second habit is overstriding. When people pick up poles, they often try to cover ground faster by throwing their front foot out as far as possible. This causes a heavy, jarring heel strike that shocks the ankle and knee. Instead of lengthening your stride out front, keep your front foot landing naturally under your center of gravity. Generate your extra speed by pushing longer and harder off the back pole and back toes.
The third habit is pole crossing. This occurs when your hands wander inward across your midline, causing the tips to click against your boots or cross behind your legs. Your hands should travel along parallel tracks, like trains running on two narrow rails on either side of your hips. Keep your palms facing inward toward your thighs, and let the poles work alongside you rather than under your feet.
Common Mistakes Checklist
Use this quick reference list before you head out the door. Taking thirty seconds to review your setup keeps your form clean and your joints happy.
- Checking strap fit: The strap should fit snugly around your wrist without cutting off circulation. Your hand must rest close to the grip when the strap is loaded.
- Right and left confusion: Most Nordic straps are hand-specific, marked with a distinct L or R. Putting them on the wrong hands ruins the angle of the strap against your palm.
- Carrying poles upright: If the tip lands ahead of your body, your pole is upright. Stop, drag the poles for twenty steps, and reset the forty-five-degree slant.
- White-knuckle gripping: If your knuckles are white, you are squeezing too hard. Remember to open your fingers completely once your hand travels past your hip.
- Hunched neck: Periodically roll your shoulders back and down. Your chin should remain level with the horizon, eyes looking roughly fifteen paces ahead.
Practical Next Steps for Your Routine
Do not worry about covering vast distances right away. For your first week, aim for two or three short sessions of fifteen to twenty minutes on flat, predictable terrain such as a smooth park path or a school track. Flat ground allows you to focus on the swing, plant, and release without navigating roots, mud, or steep inclines.
Once the motion feels automatic and you no longer need to think about which arm moves with which leg, you can begin adding gentle rolling hills and longer durations. Try extending your outings to thirty or forty minutes, and consider switching between paved surfaces and packed earth trails to challenge your balance.
If you have existing joint conditions, balance concerns, or cardiovascular limitations, check in with a physician or a registered physical therapist before significantly raising your activity level. Nordic walking is gentle, but it is an active, whole-body pursuit. Take it slow, enjoy the fresh air, and let the rhythm find you.