When you walk through the door of our shop, one of the first things we look at is how your hands rest at your sides. Nordic walking is wonderful because it engages your upper body, supports your knees, and gets you outside in every season. But if your poles are too tall or too short, you will end up fighting the equipment instead of enjoying your walk.
Sizing your poles is not complicated, but it does require a bit more care than simply guessing off your jacket size. We want to help you find the exact length that works for your body, your typical walking routes, and your footwear. Grab a tape measure, put on your walking shoes, and let us walk through the process together.
Why Proper Pole Length Matters for Joints
Every time you plant a pole into the gravel or pavement, force travels up through the shaft and into your wrists, elbows, and shoulders. When a pole is set to the correct height, your arm swings naturally, and that force spreads out across the large muscles of your back and chest. The pole cushions your movement rather than jarring your bones.
If your poles are set too long, your elbows end up bent upward at a sharp angle. This pushes your shoulders up toward your ears with every single strike. Over an hour-long walk, that constant upward hitch can cause neck tightness and shoulder fatigue. Your arms also have to reach too far back behind you, which places extra stress on the front of your shoulder joint and your wrists.
If your poles are too short, the opposite happens. You will find yourself leaning forward from your lower back to plant the tips firmly into the ground. Leaning forward reduces the push-off you get from your triceps and puts unnecessary pressure on your lumbar spine. If you already deal with flexibility & mobility or joint mobility, an incorrect pole length can irritate those areas. In those cases, we always suggest checking in with your physical therapist or orthopedist to confirm what angle works best for your specific body.
The Standard Height Multiplier Calculation
The standard formula used across Nordic walking clubs and gear shops is based on a simple decimal: your total height in centimeters multiplied by 0.68. This calculation gives you a strong starting point that fits the vast majority of walkers. It balances arm reach, back posture, and forward propulsion.
To run the calculation, stand against a wall in bare feet or flat socks to measure your standing height accurately. Convert that number into centimeters if you usually track your height in feet and inches. Multiply your height by 0.68, then round the result to the nearest 5 centimeters, since most fixed poles come in increments of 5 centimeters (such as 105, 110, 115, 120, and 125 cm).
| Walker Height (cm) | Height (Feet and Inches) | Formula Result (cm) | Recommended Pole Length (cm) |
|---|---|---|---|
| 155 cm | 5 ft 1 in | 105.4 cm | 105 cm |
| 160 cm | 5 ft 3 in | 108.8 cm | 110 cm |
| 165 cm | 5 ft 5 in | 112.2 cm | 110 cm to 115 cm |
| 170 cm | 5 ft 7 in | 115.6 cm | 115 cm |
| 175 cm | 5 ft 9 in | 119.0 cm | 120 cm |
| 180 cm | 5 ft 11 in | 122.4 cm | 120 cm to 125 cm |
| 185 cm | 6 ft 1 in | 125.8 cm | 125 cm |
If your calculation lands directly between two standard sizes, think about your fitness goals and joint comfort. We usually suggest that beginners, or anyone recovering from joint trouble, choose the shorter size. A slightly shorter pole keeps your shoulders relaxed. If you are an experienced fitness walker who wants an active push and a longer stride, you might lean toward the taller size.
Testing the Grip Angle in Front of a Mirror
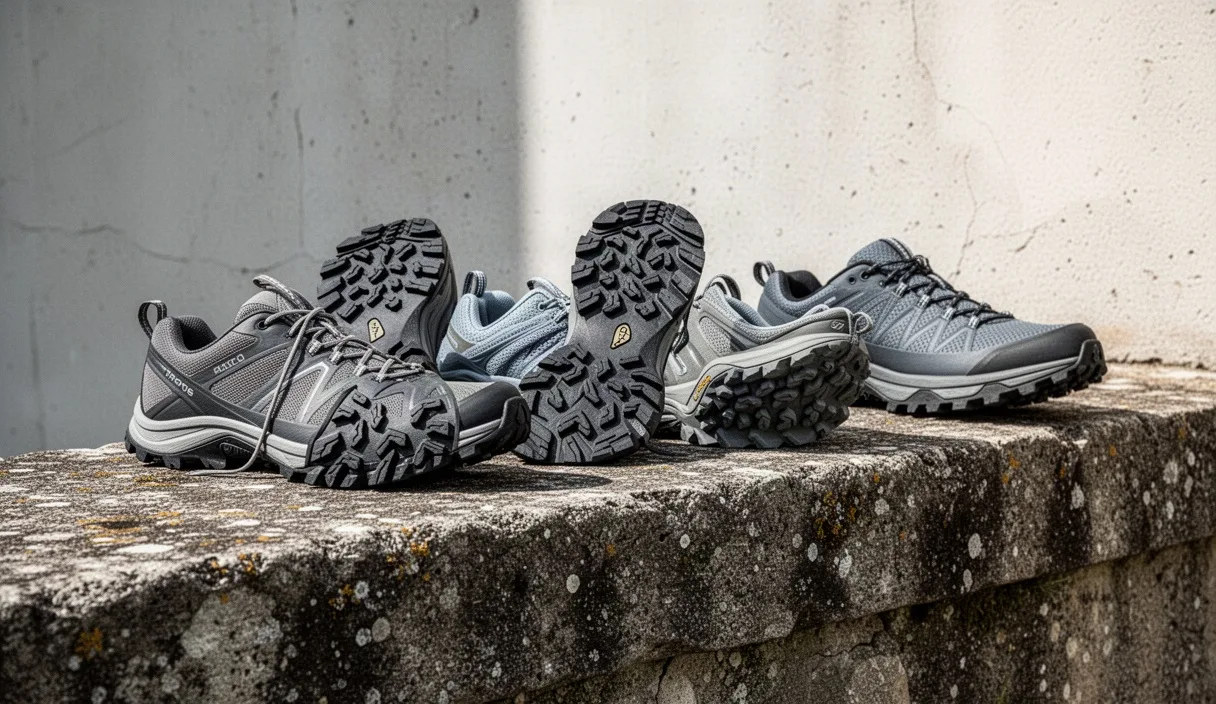
Calculations on paper are helpful, but your arms and legs are unique. Some people have longer forearms, while others have a longer torso. That is why we always follow up the math with a physical test in front of a full-length mirror. Put on the actual shoes you plan to walk in, since thick trail soles can add two to three centimeters to your height.
Slip your hands into the wrist straps properly. Adjust the strap so it wraps snugly around your hand, letting the base of the strap support your palm. Stand tall with your shoulders relaxed, your chest open, and your feet hip-width apart. Rest the pole tips on the floor directly beside your feet, holding the grips lightly.
- Check the bend at your elbow. Look directly into the mirror from the side. Your forearm should be roughly parallel to the ground, creating an angle of approximately 90 degrees at the elbow joint.
- Inspect your wrist position. Your wrist should sit in a straight, neutral line from your forearm down to the grip. If your wrist is tilted sharply upward or downward, the pole is either too tall or too short.
- Feel the tension in your shoulders. Drop your shoulder blades down your back. If you notice your shoulder creeping upward toward your ear to hold the handle, shorten the pole by 2 to 5 centimeters.
A variation of 5 degrees either way is completely fine. Some walkers feel more natural with a slightly open angle of around 95 degrees, which eases the strain on the bicep tendon. Take a few practice swings right there in your hallway or living room to make sure your arms swing naturally past your hips without the handles bumping your waist.
Fixed Length versus Adjustable Shafts
When you browse poles, you will see two main styles: fixed-length poles made from a single solid tube, and adjustable poles made with two or three telescoping sections. Both have a place on the trail, and the right pick depends on how and where you walk.
Fixed-length poles are our favorite recommendation for regular daily walkers who stick to neighborhood paths and park loops. Because they have no internal locks or external clamps, they are lighter, stiffer, and vibrate far less when the tip hits hard pavement. Carbon fiber fixed poles give a crisp push-off that feels wonderful in the hand. The only downside is that you cannot change their size, and they can be awkward to fit into a small suitcase or backpack.
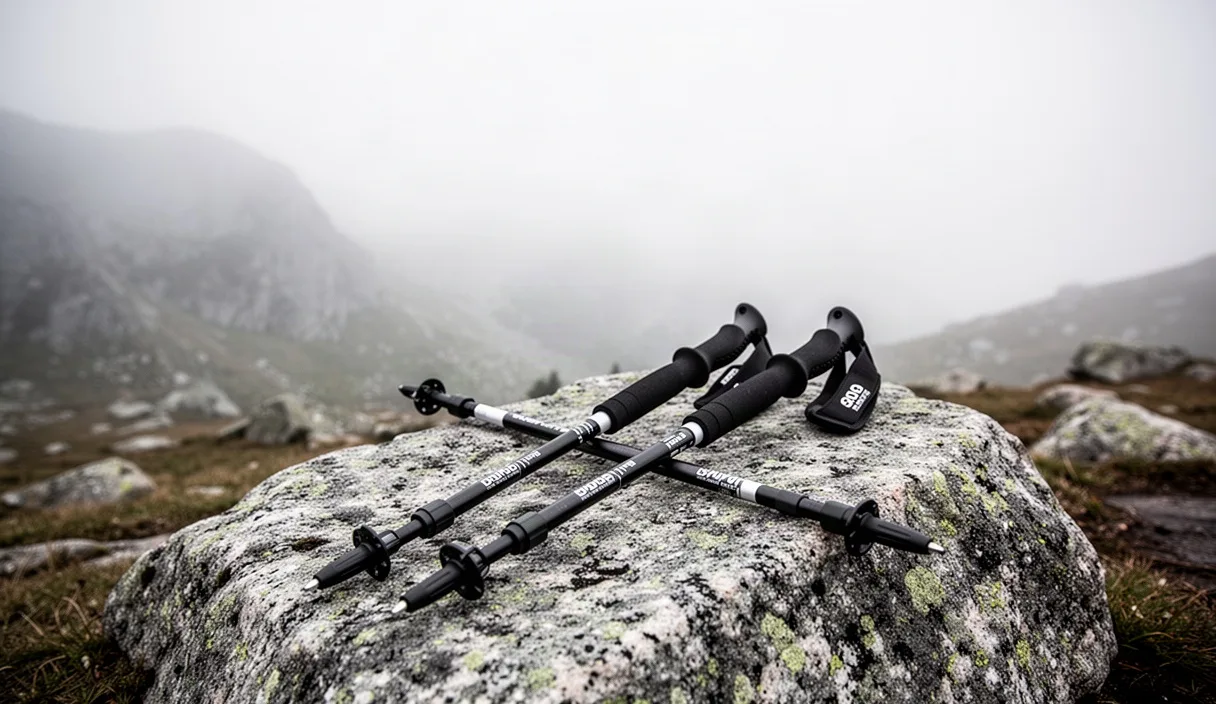
Adjustable poles feature twist locks or lever clamps along the shaft. These are practical if you share your gear with a partner, if you plan to travel by plane, or if your regular walks involve steep hill climbs where changing the length helps your technique. They carry slightly more weight and require periodic tightening so the clamps do not slip mid-stride.
| Pole Feature | Fixed Length Shafts | Adjustable Shafts |
|---|---|---|
| Shaft Weight | Lighter, often under 180 grams per pole | Heavier, typically 220 to 280 grams per pole |
| Vibration Dampening | Very smooth and quiet on hard ground | Slightly more mechanical vibration |
| Packability | Requires a dedicated travel bag or car trunk | Collapses down to 65 to 80 cm for transport |
| Sizing Flexibility | Locked to one single measurement | Easily adjusted for different shoes or users |
If you choose adjustable poles, always wipe down the metal sections after wet walks. Moisture trapped inside telescoping sections can cause corrosion or lead to slipping locks over time.
Adjusting Height for Uphill and Downhill Terrain
Nordic walking is not the same as mountain trekking, but many of us walk on rolling hills, forest trails, and rural dirt roads. Changing grade shifts where the ground meets your pole tip, which temporarily alters your effective elbow angle.
When you tackle an extended uphill section, the ground rises to meet you early. If your poles stay at your flat-ground height, you will have to lift your arms too high to plant the tips, which strains your shoulders and burns out your upper arms. Shortening adjustable poles by 5 to 10 centimeters brings your elbow back to that comfortable 90-degree position, allowing your back muscles to help push you up the slope.
On long downhill descents, the opposite happens. The ground falls away beneath your stride. Lengthening your poles by 5 to 10 centimeters gives you stable contact further down the trail without forcing you to bend over at the waist. You can lean slightly back into your stride, using the poles as gentle stabilizers while keeping your spine straight and balanced.
If you walk with fixed-length poles, you can still manage moderate slopes by shifting your hand position. Many quality grips include an extended foam sleeve beneath the main handle. Sliding your hands down that secondary sleeve on short climbs effectively shortens your reach without needing any mechanical adjustments.
Troubleshooting Common Sizing Mistakes
Even with good measurements, you might notice odd aches or awkward movement during your first few weeks. Diagnosing the issue early keeps small discomforts from turning into lingering habits.
If you experience soreness across the top of your shoulders or in your neck, your poles are almost certainly too long. When poles are oversized, walkers subconsciously hitch their shoulders up to clear the ground on the forward swing. Try lowering your adjustable poles by 3 centimeters, or trade for the next size down in fixed poles. Pay attention to whether your shoulders drop into a relaxed posture.
If you feel soreness in your lower back or notice that your wrists ache, your poles might be too short. Short poles make you hunch forward to get traction, robbing you of the upright posture that makes Nordic walking so healthy for spinal alignment. Lengthening the poles allows you to lift your chest, look ahead at the horizon, and take smooth, confident strides.
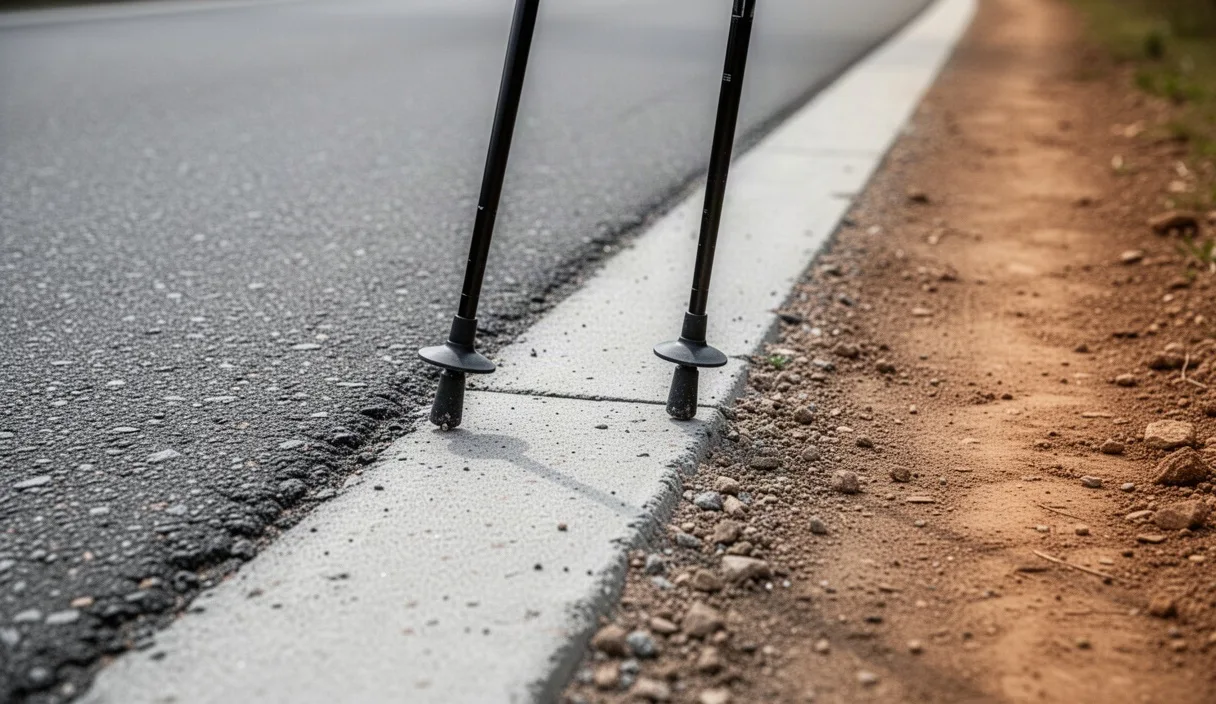
Finally, check your rubber asphalt pads (often called paws). These angled rubber tips add about one to two centimeters to the total height of the pole compared to bare carbide spikes. If you size your poles indoors on carpet with the bare metal tips exposed, but spend all your walking time on asphalt with the rubber pads attached, your poles will feel taller than you planned. Always include the rubber pads during your mirror test if you walk mainly on paved roads.
Common Mistakes to Avoid
We often see new walkers fall into a few easy traps when they select their gear. Avoiding these simple errors will save you time and keep you comfortable on the trail:
- Using trekking pole measurements instead of Nordic walking measurements. Trekking poles are often sized taller to support downhill braking with a vertical plant, whereas Nordic poles need to sit at an angle behind you for propulsion.
- Measuring while wearing socks or slippers instead of your actual walking footwear. Outdoor running or trail shoes can add between 2 and 4 centimeters of stack height under your heel.
- Buying poles for a partner or family member based only on their clothing size. Arm-to-leg proportions vary widely, so each person needs an individual check.
- Relying solely on loose strap tension. If your wrist strap is too loose, you will grip the handle with a tight fist, distorting your arm angle and fatiguing your forearms.
Practical Next Steps for Your Fit
Now that you know how the numbers work, take a few minutes to measure yourself before heading out. Put your walking shoes on, multiply your total height by 0.68, and write that baseline number down on a piece of paper. If you already own adjustable poles, set them to that exact mark today and check your profile in the mirror.
Take your poles on a quiet 15-minute test walk around your block. Focus on relaxing your grip, swinging your arms from the shoulders like pendulums, and feeling the strap support your hand on the push-off. If your neck feels loose and your stride feels smooth, you have found your sweet spot. If something feels awkward, adjust by 2 or 3 centimeters until your motion feels natural.
Feel free to stop into your local shop with your gear if you ever want a second pair of eyes on your posture. A well-fitted set of poles should feel like a natural extension of your arms, making every walk outside steady, upright, and enjoyable.